• Home
  • Blog
  • Contact
  • Health & Fitness

Marissa Elman | Fashion & Photography

Marissa Elman is a lifelong lover of fashion and photography.

Things To Consider When Buying A Tripod For Your DSLR Camera

April 14, 2018 by Marissa Elman

tripod for DSLR camera - marissa elman

A digital single lens reflex (DSLR) camera is a popular tool among modern photographers. DSLR’s can be utilized for either fun or professional photo shoots depending on the advanced capabilities it may have. One of the more popular tools utilized with this camera is a tripod. That is why the following list of things to consider before buying a tripod for your DSLR camera has been created. The considerations are as follows:


  • Why Is It Needed?
  • What Price Is Too High?
  • What Is The Most Important Factor?


Why Is It Needed?


While this may seem obvious, it is worth the time to truly investigate why this tripod is being purchased. If it is just to take a few photos once or twice a year, rental equipment may serve the purpose better. If instead, it is viewed as an investment in a photography career, it can serve dozens of purposes and be a useful tool day in and day out. For example, low light situations are ideal for tripod use and this investment opens up a whole new group of photographic possibilities such as this and many others.


What Price Is Too High?


For amateur photographers, an average or even lower priced tripod may be more than enough. For professional photographers however, the extra expense may be well worth it. The additional features that are afforded with more expensive tripods will pay for themselves in the long run because of the added capabilities that it provides. Price shopping is essential to making the proper purchase.


What Is The Most Important Factor?


There are a number of factors to consider when purchasing a tripod. Some photographers require the tripod to be lightweight as to easily transport it across rough terrain. This can be highly beneficial to photographers that frequently shoot in nature. If the tripod is too heavy, it may make the trek into the wilderness nearly impossible. Height is also a contributing factor. If the tripod fails to be able to shoot from a range of heights, it may serve less useful than was originally thought.


Tripods can be highly beneficial to professional photographers. That is why it is so imperative to consider all of the above questions and so many more before finally deciding to pull the trigger and purchase one.
 

Tips for Photographing a Wedding

October 27, 2017 by Marissa Elman

For professional and amateur photographers alike, working at a wedding can be both a learning and enjoyable experience. Not only is it a chance to showcase your photography skills and get creative with new shots, it’s also a great way to build up your clientele and gain new business. The following are tips for getting the best possible shots on your clients’ most important day of their lives.


Meet with your client beforehand

Most weddings require weeks or months of planning and can be stressful for both the photographer and the two getting married, but it doesn’t need to be. When you meet your clients for the first time, it’s a good idea to bring along a few ideas, whether or not they’d like you to use props, and ask questions about the venue. Some couples choose to take photos with their car or will request that a classic car be sent to the venue. Knowing this beforehand will allow you to plan out creative shots prior to that day.


Once your clients decide to go with you for their wedding, make sure you draft a contract for them to sign. Unfortunately, couples don’t always make it to their actual wedding day, and the contract will give you peace of mind when it comes to receiving payment.


Ask what shots they like

Nowadays everyone is on Pinterest, and couples will probably have a good idea of what shots they’d like to see taken during their wedding. Coordinating their shot ideas and mixing some of your own will only help guide you through the day with a bit of ease. It’s a good idea to give them a form they can fill out with the different shots they’d like to see after you’ve had a chance to develop them. Shots like the kiss after the vows and photos of them cutting the cake are ones that go without saying, but for the more creative pictures, it’s a great idea to have a list so they don’t spring them on you the day of the wedding.


Meet the Maid of Honor and/or Best Man

The ones that get this honor in the wedding are oftentimes either relatives or close friends that have known the couple for a long time. The couple will more than likely be quite overwhelmed the day of, and these two people can be invaluable in helping corral people that need to get their pictures taken into the room with you.


Go to the rehearsal

Make it a point to attend the rehearsal dinner the night before the wedding. This allows you to really plan out your day the night before. Make sure the lighting is how you need it to be, you have space for your gear, and you have a safe place for your equipment on that day.

Most Instagrammable Spots in Manhattan

July 25, 2017 by Marissa Elman

marissa elman


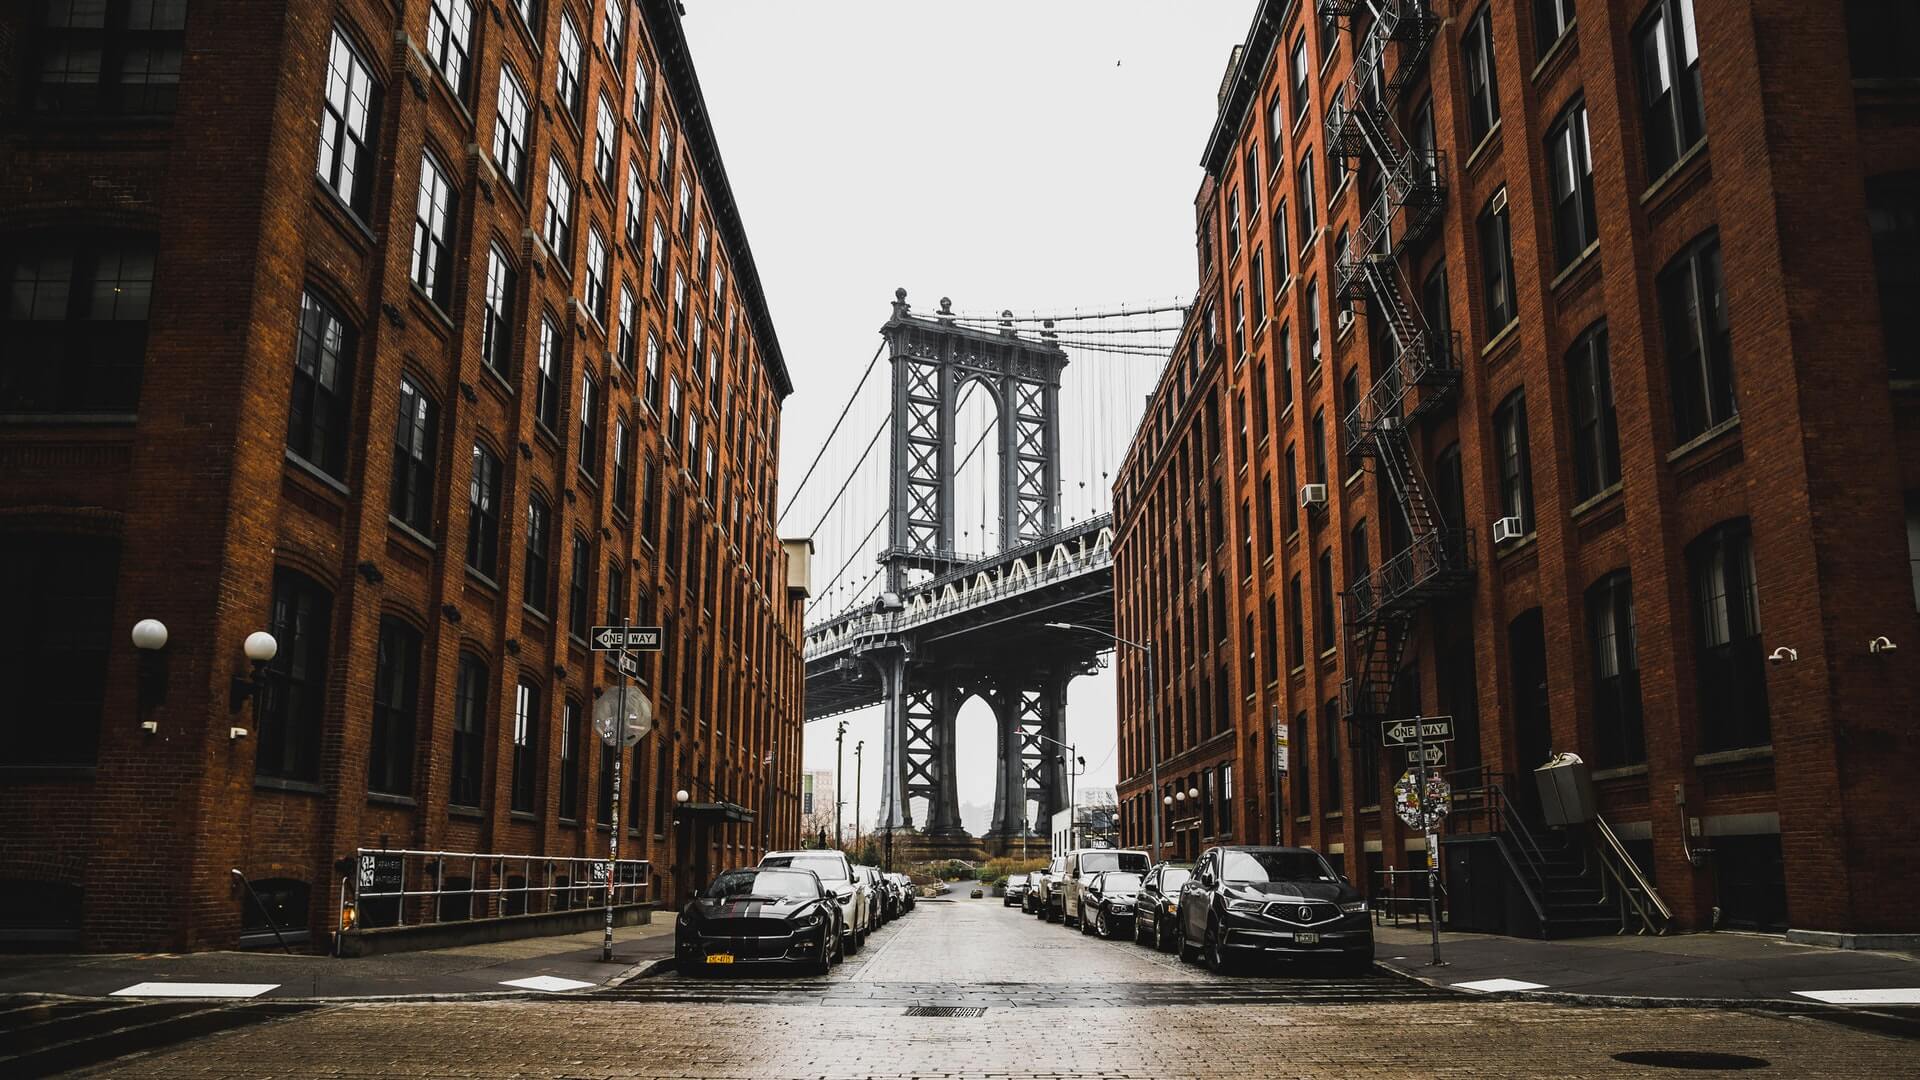
Are you planning to travel to the “Big Apple” in the near future? New York City is filled with incredible spots that are sure to make anyone’s Instagram account shine.  Make sure you have Instagram uploaded onto your phone, grab your camera, and plan out your trip to include these locations so can snap some awesome pictures of this iconic city.


Manhattanhenge

The phrase was originally coined by astrophysicist, Neil deGrasse Tyson, and it is the event when the sun sets between the buildings that run east to west. This will require a little bit of planning beforehand to make sure you’re there whenever this happens, but the photos are worth the extra bit of planning you have to do. This phenomenon takes place because New York City is set up as a grid, allowing the sun to perfectly rise or set between the buildings during the winter or summer solstices.


Flatiron Building

The Flatiron Building, located at 175 5th Avenue, is definitely one of the most iconic buildings of Manhattan. This triangular-shaped skyscraper stands out on the street and is easy to photograph from practically any angle be it ground-level or aerial. The building gets its name from it’s shape, as an iron is of a similar shape.


Central Park

This large park in the center of Manhattan gives its visitors beautiful glimpses of the city from a lovely landscape. The park itself has so many lovely features like sprawling fields, lakes, and sculptures. An afternoon in Central Park, regardless of what time of year you visit, is sure to bring about some Instaworthy shots.


Helicopter Rides

Viewing New York from a helicopter is a fantastic way to get a new perspective of its majestic features, while also giving you the opportunity to snap some one-of-a-kind shots. A short ride will certainly make you fill up the memory in your camera and will definitely be an unforgettable experience. It can be costly, but if you’re able to save up, it’s worth it to take the ride at least once.


Highline

Originally a part of the New York City Railroad, this elevated park is located on the west end of the city. Walking along the old railroad bridge will allow you to spot various New York City structures and take pictures of the iconic skyline.

Easing Your Clients’ Nerves During a Photo Shoot

April 26, 2017 by Marissa Elman

Making Your Clients At Ease - Marissa Elman


When clients go to a professional photo shoot, especially for the first time, there is usually a sense of anxiety associated with that for most people. Being the center of focus and putting yourself on display can be difficult for some clients, so as a photographer, it’s important to be ready for their clients to be uncomfortable and to take active steps to ensure their ease. Not only will this help them to appear more natural in the photos, it will also make the entire experience more positive and enjoyable. To make your client’s a feel at ease, follow these tips that professional photographers have been using for years.


Be open from the start


Before the photo shoot even starts, it’s a good idea to take some time to talk to your client about himself or herself. People are normally receptive to questions about their likes and dislikes, and this should help them feel more at ease. This will also give you a better understanding of what their personality is and what they might like to see as an end result from the photo shoot.


Another way to be open with them is to let them know that you’ll be giving them tips and instructions throughout the process. This will make them feel more at ease during the photo shoot when you’re giving them instructions so they don’t feel criticized.


Give Direction


If the client is new to getting their photo taken professionally, chances are they won’t know exactly what to do. Give your clients easy to follow directions that won’t confuse or frustrate them. Let them know some general poses before the shoot starts so they know how to position their body during the shoot.


Give positive feedback


While you’re taking photos if one looks great then tell them about it. This positive feedback will let your client know that they’re doing a good job and will reinforce some of their confidence. Along those same lines, try to downplay any negative emotions that you have with the photos. Instead, actively find ways to improve the photo shoot and continue to give direction.


Be Prepared

Being prepared for a client to be nervous before the shoot is very important but so is having a clear vision for the photo shoot. Have a plan in mind and a direction for the shoot, make sure you’re on time and have everything setup prior to your client arriving. Not only will you look more like a professional, but there will be a lack of general confusion on what the plan is for the shoot.

Tips for Amateur Photographers

March 20, 2017 by Marissa Elman

Photographer

Point. Snap. Capture. That’s basically how taking a picture goes. Whether you just bought your camera or you’ve dipped your toes in the world of photography, learning and acquiring professional skills takes time. As you grow through the different levels of photography, you’ll want to follow these tips and you’ll be shooting like a pro before you know it.


Lighting is Everything


Light is your best friend when it comes to capturing every shot. You either use it to your advantage, or avoid it when necessary. For example, high contrast photos show the different rages between strong blacks and whites, with little grays hues in the shot.


Natural lighting is a great factor to utilize when taking pictures. To start out, place the subject of your shot in direct natural lighting and try to point the camera facing in the same direction of the lighting pointing at your subject. You’ll have a naturally highlighted photo, even before edits.


Another tip when it comes to lighting is to practice shooting during the golden hour. Give or take, it’s known as the first and last hour of natural daylight. Guaranteed, some of the best photos you will ever take are captured during this “hour”.


Get Comfortable with Different Settings


You’ll have to learn photography phrases like “depth of field” (DoF) and “shutter speed”. Two common photography skills to utilize in every shot. The DoF is how close or how far the background of your photo is.


For a shallow DoF you can blur the background for a more dramatic focus on your subject. To do this, you’ll want your camera in Aperture mode (A or AV in camera settings) so you can control the DoF to get the blurred background.


Shooting in manual will give you more control over the quality of your photos. The best way to control the ISO, shutter speed, aperture and other camera settings is simply to get out there and practice.


Use a Tripod


Amerature hands and sometimes even experienced hands need something to keep the camera steady. This is where tripods come in. Unsteady hands will only lower the quality of the photos you take. When you’re starting out, a tripod will help you gain better control of the photos. Of course you don’t always need a tripod but it’s highly suggested.


The best times to have a tripod are if you’re taking close up images, sunset/night images, moving/action images or trying to frame an image. A tripod will help you slow down to focus on each shot, especially if the camera or lense get heavy. It’s best to keep your camera on the tripod when learning the ins and outs of photography.


Photography is great because it allows for creative freedom. You get to decide what kind of photo you want to capture. You can play with settings to get different pictures yet of the same subject. Although you may feel like an amerature now, you’ll feel like a professional once you practice and learn key settings of your camera.


3 Secret Cheats for Powerful Fashion Photography

September 1, 2016 by Marissa Elman

Marissa Elman: Fashion Photography

3 Secret Cheats for Powerful Fashion Photography

If you’ve ever tried your hand at fashion photography, you’ve probably discovered that it’s not quite as easy and intuitive as you might have thought. Anyone can dress up and have their picture taken, but fashion photography is about something more — capturing the drama and movement, the mood and impression, of a wearable art form in a static image. That’s not easy, especially when beautiful clothes are made to interact with the wearer as they move about their daily lives. To produce an image that is true to the spirit of the clothes and therefore makes them interesting and desirable to the viewer, you’re going to need to think creatively and pull out all your best tricks. Here are a few simple tips that have served me well:

1. Eye Contact

The model doesn’t need to be sustaining eye contact with the viewer, but they do need to be making eye contact with something. Think about the emotional reaction you want to elicit. A model looking straight into the camera is arresting because it creates an engagement between them and the viewer. Powerful eye contact almost breaks the “fourth wall” and connects the viewer directly with the image, drawing them in.

You can also have your model look off screen, focused on something in the distance. Make sure, however, that they are actually focusing on something, no matter what it is. Viewers can tell the difference between a meaningful look and unfocused, bored eyes. Looking out of the shot creates a sense of mystery and intrigue, forcing the viewer to wonder what they see.

You can also have two models look at each other. This creates a story inside the image, and the viewer feels they are witnessing an interaction in process and must read the emotions passing between the models. It can even be somewhat voyeuristic, but it’s certainly engaging.

2. Play with the Angle

The classic fashion shot puts the photographer on a lower level, looking up at the model. This elongates the model’s body, slimming and lengthening her. It’s a great go-to shot, and a good one to have in your back pocket. Still, rules are made to be broken. The shot works well, but that means we’re also used to seeing it. Don’t be afraid to switch it up and experiment a little. Shoot from a side angle, or get up above your model on a ladder. Try having them on the edge of the shot, almost out of the frame. It’s always worth it to try, you may just hit on something great!

3. Get Moving

Remember what I said about clothes interacting with your daily movements? The best shots manage to capture that interaction in a static image. Try having your model move. They can walk, run, jump around, or just change positions and let you catch them in the act. There will be a lot of duds, but the shots that work will be much more engaging than those of a posed model. Even if you are doing a posed shot, have the model constantly shift slightly, turning their head or moving their arms and changing their expression. The viewer will get a sense of that movement, and since the model is less able to control their pose at all times, there will be a touch of candidness to the shot.

 
To keep learning how to take beautiful fashion photos, check out this 101 resource.

  • « Previous Page
  • 1
  • 2
  • 3

Navigation

  • Home
  • Blog
  • Contact
  • Health & Fitness
May 2025
M T W T F S S
 1234
567891011
12131415161718
19202122232425
262728293031  
« Oct    

Bookmarks

  • 500px
  • About.me
  • Behance
  • Crunchbase
  • Disqus
  • Tumblr

Copyright © 2025 · Magazine Pro Theme on Genesis Framework · WordPress · Log in